ESP8266 Over The Air updating - what are the options?

Over the air convenience
A real pain point when developing sensor nodes that are scattered around a building (or a country or the world!) is the updating part. How do you get new firmware onto the devices?
The cell phone manufacturers were early to investigate the options, but from my days in that industry I know first-hand how challenging it was to send new firmware to tens or hundreds of thousands of devices. Lot’s have happened since, today a system update for tens of millions of Android or IOS devices is no big deal, you just make sure your phone is plugged into power before starting the upgrade. Leave it overnight, and next morning you have the latest (and hopefully greatest) version installed.
Looking specifically at the ESP8266, it does have drawbacks in terms of power consumption (it’s hard to get the power consumption down for a device that needs 3-4 seconds to wake up from sleep, connecting to a wifi network and send its sensor readings – but improvements are possible). On the other hand, its wifi connectivity means Over The Air (OTA) updating is possible.
Having a bunch of ESP8266’s lying around, I looked into the options for doing OTA on ESP8266.
Mains power first, batteries later
To begin with I will only focus on the OTA part. I expect there to be 5V USB power available for all nodes. If the ESP8266s (or the coming ESP32) can be battery powered (using deep sleep etc) down the road, that would be nice. If not – I am sure there will be other low costs options available within a year or two that does offer both low cost, ease of use and low power consumption. That’s what all this IoT talk is about, really.
So what are the options for OTA on ESP8266? The ones I have found are listed below, but I would love to hear about additional ones – feel free to mention them in the comments!
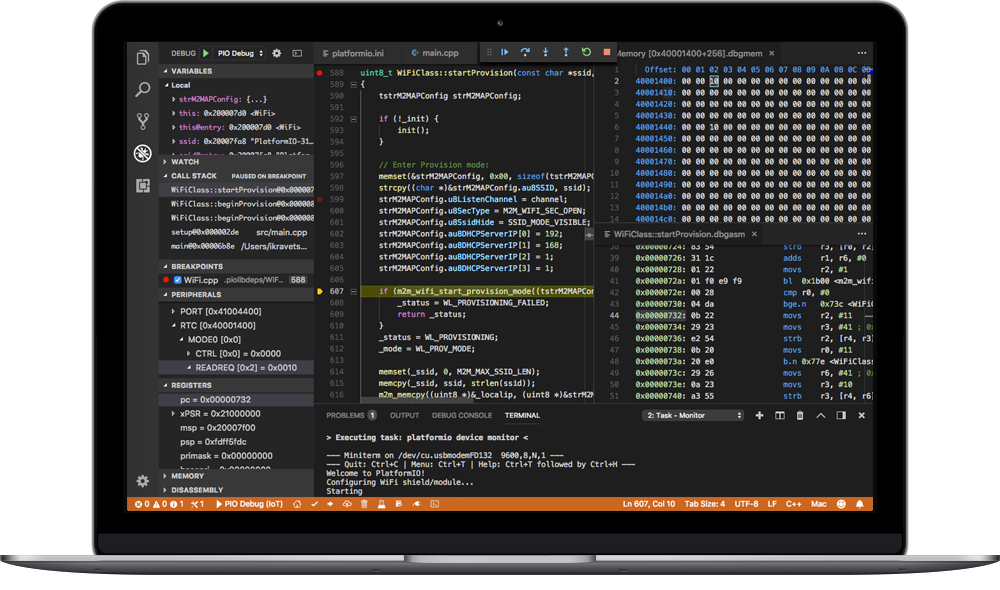
PlatformIO
“PlatformIO is an open source ecosystem for IoT development. Cross-platform code builder. Continuous and IDE integration. Arduino and MBED compatible”
This is probably my favourite concept. I have used it in a few projects with good results. PlatformIO provides a nicely layered software stack that enables cross platform development. The layers are distinctly separated:
- Development platform. The kind of computer you are developing on. Mac, Windows, Linux.
- Embedded boards. The kind of board you are targeting. Atmel AVR & SAM, Espressif, Freescale Kinetis, Nordic nRF51, NXP LPC, Silicon Labs EFM32, ST STM32, TI MSP430 & Tiva, Teensy, Arduino, mbed etc
- Library Manager. Provides structured and easy access to hundreds of libraries that makes it easy to connect to most kinds of peripherals (sensors, communication devices, motors, actuators, displays etc).
Not that I am likely to deploy the exact same application on an 8 bit ATTiny85 and a 32 bit ESP8266, but learning the concepts and tools in PlatformIO once, you can then easily develop against any of the supported platforms. In addition, many of the hundreds of available peripheral libraries work across multiple platforms.
Other nice features include
- Open Source. Seems to be in very active development, which is a good thing.
- Can be used together with most common IDEs (Arduino, Eclipse, Energia, Sublime, Visual Studio etc), i.e. you can most likely keep using your favourite IDE.
- Good hardware support. Can’t really see any major boards missing there.
- Reasonably good documentation, but given its open source you can always go to the roots and dig up the code that is causing troubles.
- Easy OTA upload of code to target devices (assuming they have a built-in radio). For ESP8266 it is very simple – just run a command like “platformio run –target upload –upload-port IP_ADDRESS_HERE” from within your project directory, and your app will be uploaded to the target device
- Like it or not, but Arduino’s Wiring language is pretty well known out there, and quite easy to get started with. Being able to use this when developing PlatformIO applications certainly lowers the barrier of entry to the platform.
All in all, it’s a very nice environment.

ESP-LINK
This is my second favourite. Having used JeeLab’s JeeNodes for years in a sensor network at home, I am pretty familiar with the concept of combining an Arduino clone with a RFM12B radio module. Works great, even though the range can be a bit so-so, and that you need a central gateway that converts the RFM12B traffic to MQTT, stores the sensor reading in a database or whatever the use case is.
Enter the ESP-link project. It takes an ESP8266 and makes it into a wireless modem on steroids, to which pretty much any microcontroller can be attached. Given JeeLab’s history of working with Atmel ATMega chips, those are currently best integrated with ESP-link.
So, you connect your microcontroller to the ESP8266 (which has ESP-link loaded). Then the magic happens:
- With just a few lines of code you can now send data by your micro to an MQTT broker
- Your micro can initiate REST calls to remote services,
- You get OTA upload of code to both your micro and the ESP8266
- ESP-link provides a really nice web UI from which you can configure things like MQTT broker address, whether to sync time to some NTP server, what wifi network the ESP8266 should be attached to, viewing of log entries both from the micro and from ESP-link itself, and more. Very impressive!!
- So far it has been very stable. I have had a couple of nodes running for a few weeks, without any trouble.
The downside is that you need two micros – the ESP8266 is purely a modem for the micro doing the actual work. A very nice modem, but still. Having two micros will add to cost, power consumption and size. But the ESP-link concept on the other significantly lowers the complexity of getting data from a micro to external services.
Sming
Sming is great on paper, and was the first development framework I tried. It offers things like a built-in file system, JSON library, HTTP and websockets support, as well as MQTT support.
The setup on OSX seemed simple enough, but after hours and hours of head scratching I gave up – I simply could not get the development environment to work.
Arduino OTA
If you install ESP8266 support in the Arduino IDE, some sample projects are also installed. One of them is called “BasicOTA” and gives you pretty complete code for OTA uploads to an ESP8266. The concept used behind the scenes is the same as used for PlatformIO and ESP-LINK (i.e. copying the new firmware to the ESP, the rebooting it and the bootloader will run from the new code instead of the old one), except that those two environments are more tightly integrated and packaged.
But if you prefer a slimmed down OTA solution, the BasicOTA sketch is a good starting point.
ESP8266 native
It is of course also possible to one of the native SDKs for the ESP8266 and develop against the chip itself. This will give you by far the best control of what’s happening in the code, you can optimise your code as needed, you will probably get the best performance etc – but the price you pay is that the learning threshold is higher than using the above methods. Embedded development isn’t difficult per se, but the getting started and learning threshold IS higher than for example when using the Arduino IDE.
I tend to use bare-metal programming when the above options for some reason fail, or if some timing requirement is impossible to meet unless you take full control of interrupts etc. I will need more time developing the code, but in some cases that’s ok.

