A no-compromise Qlik Sense backup solution, part 2
The previous post focused on how to do a high level backup of all information in a client-managed Qlik Sense Enterprise on Windows (QSEoW) cluster.
Let’s dig into details a bit and take a look at how we can do more granular backups of various parts of QSEoW.
Specifically, this article looks at how to back up
- all data connections to JSON. Useful to verify that a set of data connections has the needed settings or to just keep track of what data connections exist. Or as a reference if a change in data connection settings doesn’t work as intended.
- all security rules to JSON and structured text files. Separate files are created for readonly, default and custom security rules, making it super simple to see what rules have been changed and which ones are still in their default state.
- all tags and custom properties to JSON and structured text files. Large Sense environments tend to have lots of tags and/or custom properties, with associated difficulty to get an overview of things. Being able to have all tags/custom properties in a single text file can be useful both in daily operations and as backup.
You could argue that exporting these things should be a standard feature of the Qlik Management Console (QMC)…
But they are not.
The good news is that the Sense APIs make it reasonably easy to use PowerShell scripts to extract the information of interest.
A great use case for the scripts in this blog post is to do automated daily/weekly/monthly backups of these Sense resources.
Having easy access to past versions of security rules or data connection settings can for example be extremely useful if you happen to make a config change that doesn’t work out as planned..
Export data connection definitions
This script relies on Qlik CLI for interacting with the Sense server. It’s a great command line tool that’s officially supported by Qlik, making it possible to remote control many aspects of both Qlik Sense Cloud and client-managed Qlik Sense Enterprise (which we are interested in here).
Any serious QSEoW admin should consider setting up and getting to know Qlik CLI – it’s very powerful indeed.
Prerequisites
- Install Qlik CLI, there are good instructions at the link above (hint: It’s just a matter of downloading the binary and store it somewhere in the system path).
- Create a JWT (Json Web Token). It is used to authenticate Qlik CLI with the Sense server. If unsure how to do this, these blog posts about qs-jwt may be of help (link 1, link 2).
What’s qs-jwt? A tool that makes it easier to create Qlik-compatible JWTs. More info here. - Create a Sense virtual proxy with JWT authentication, to match the JWT you just created.
JWT + JWT-enabled virtual proxy = unattended, scripted access to Sense APIs.
With this in place we can take a look at the PowerShell script.
PowerShell script
The script below will back up all data connections from a Sense server called “winsrv19-1”, using a Sense virtual proxy called “jwt”.
Which means the URL will be https://winsrv19-1/jwt
The ApiKey variable contains the JWT that is used to authenticate with Sense. It contains information about what Sense user to use.
The script will delete all previously created files older than 30 days. If such retention policy is not needed/suitable the last few lines in the script can be commented out/changed.
# backup_data_connection.ps1
#
# PowerShell script to backup/export all data connections from a
# client-managed Qlik Sense Enterprise on Windows (QSEoW) system.
#
# Data connection definitions are stored in a JSON file, whose file
# name includes the date when the export was done.
#
# Adapt the following variables before running the script:
# - UNC path to file share where files should be stored, in
#   the $folderBase variable. This can be on the Sense server itself
#   or on a remote file server.
# - Directory where the created JSON files should be stored, in the
#   $folder variable. Note that this variable contains a reference to
#   the $folderBase variable!
# - The URL to the JWT-enabled virtual proxy that should be used, in
#   the $jwtVirtualProxyUrl variable.
# - The JWT that will be used to authenticate with Sense, in the
#   $ApiKey variable.
#
# If the created JSON files should be stored on a remote file share
# that require authentication, a username and password can be
# set in the $destFolderUser and $destFolderPwd variables.
# The "net use..." command should also be enabled in this case.
#
# The script can in theory be executed from any OS where Qlik CLI and
# PowerShell is available (including macOS and Linux), but it's still
# recommended to run the script from the Sense server itself.
#
# The script can be scheduled using the standard Windows scheduler
# if so desired.


# ---------------------------
# Config options
$folderBase = "\\winsrv19-1\c$"
$folder = "$folderBase\backup\data_connections"
$jwtVirtualProxyUrl = "https://winsrv19-1/jwt"
$ApiKey = "eyJhbGciOiJSUzI1NiIsInR5c....."

# Enable and configure the following lines if folderBase resides
# on a Samba file share that requires authentication
#$destFolderUser = "domain\user"
#$destFolderPwd = "pwd"
# End config
# ---------------------------

# Authenticate to destination folder
#net use $folderBase /user:$destFolderUser $destFolderPwd

# Create backup destination path if it does not already exist
If(!(test-path "$folder")) {
    New-Item -ItemType Directory -Force -Path "$folder"
}


# Create temporary authentication to QSEoW JWT-enabled virtual proxy
.\qlik context create tmp_qseow_ds_export --server "$jwtVirtualProxyUrl" --server-type windows --api-key "$ApiKey" --insecure
.\qlik context use tmp_qseow_ds_export


# Get full info about all data connections. Store to JSON file.
.\qlik qrs dataconnection full | Out-File $folder\data_connections_$((Get-Date).ToString('yyyy-MM-dd')).json

# Delete temporary auth context
.\qlik context rm tmp_qseow_ds_export


# Write-Host "Removing files older than 90 Days"
Get-ChildItem $folder -Recurse -Force -ea 0 |
Where-Object {!$_.PsIsContainer -and $_.LastWriteTime -lt (Get-Date).AddDays(-90)} |
ForEach-Object {
   $_ | Remove-Item -Force
   $_.FullName | Out-File $folder\deletedlog.txt -Append
}
Output
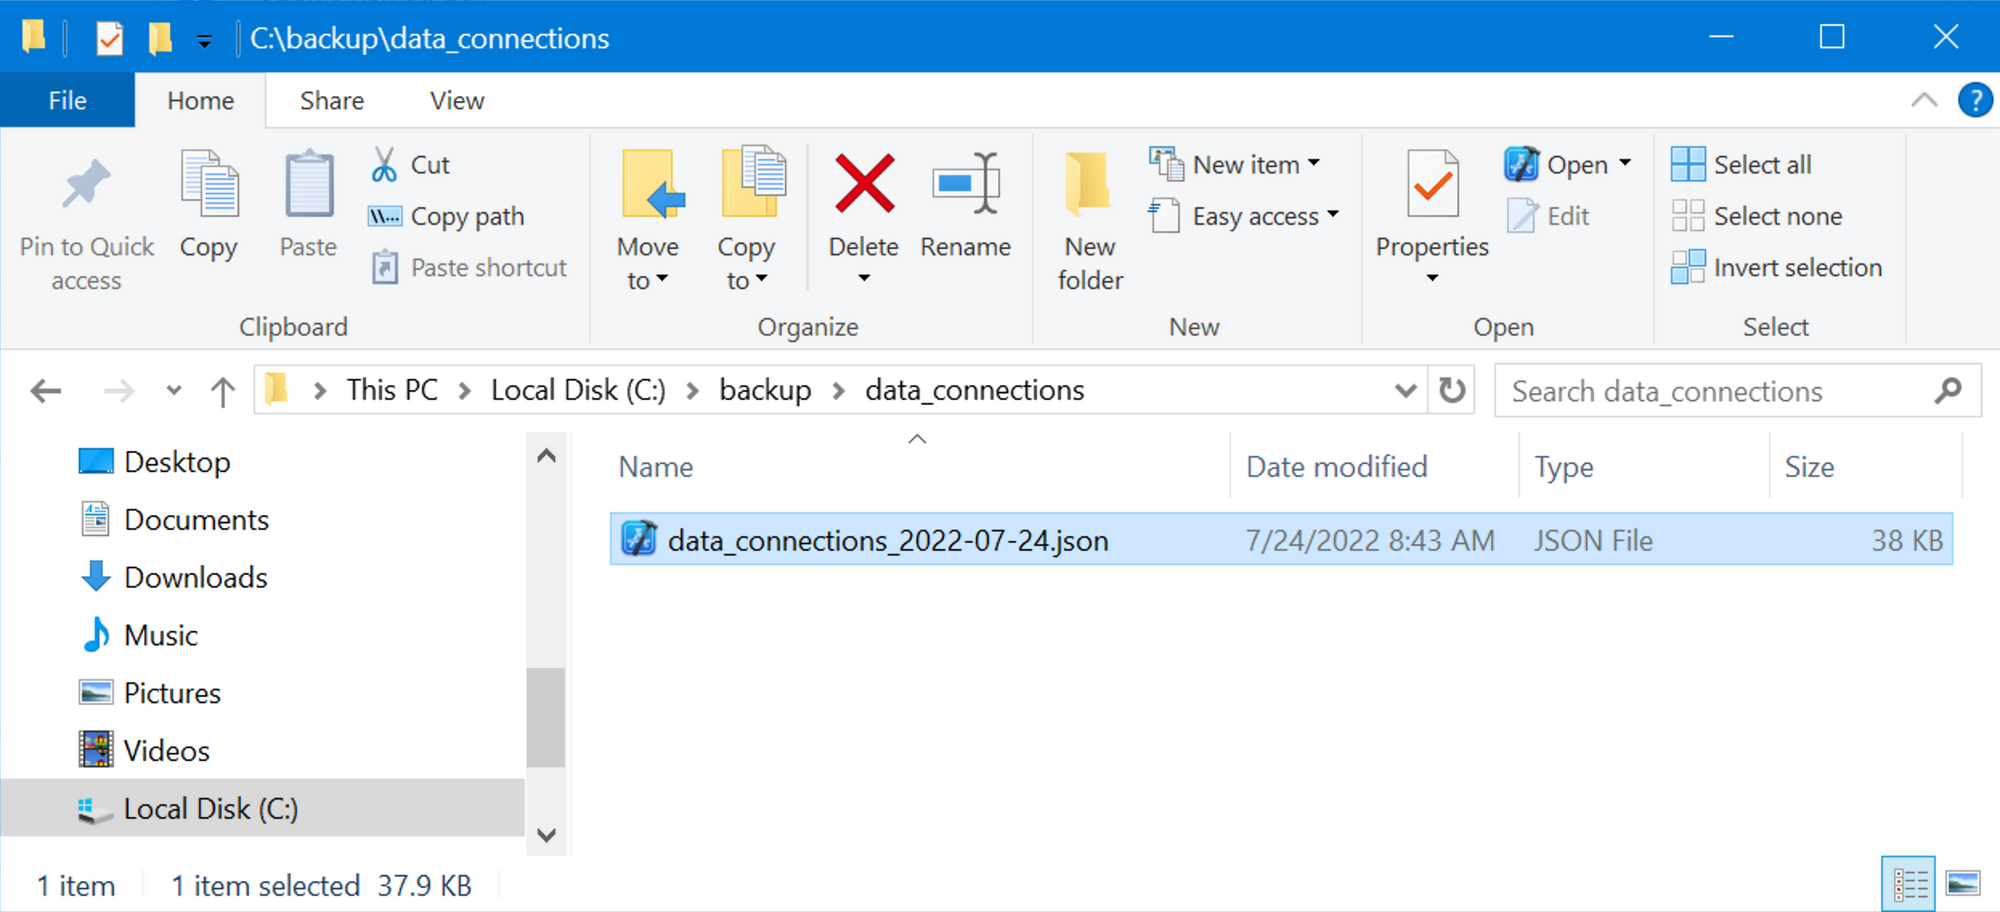
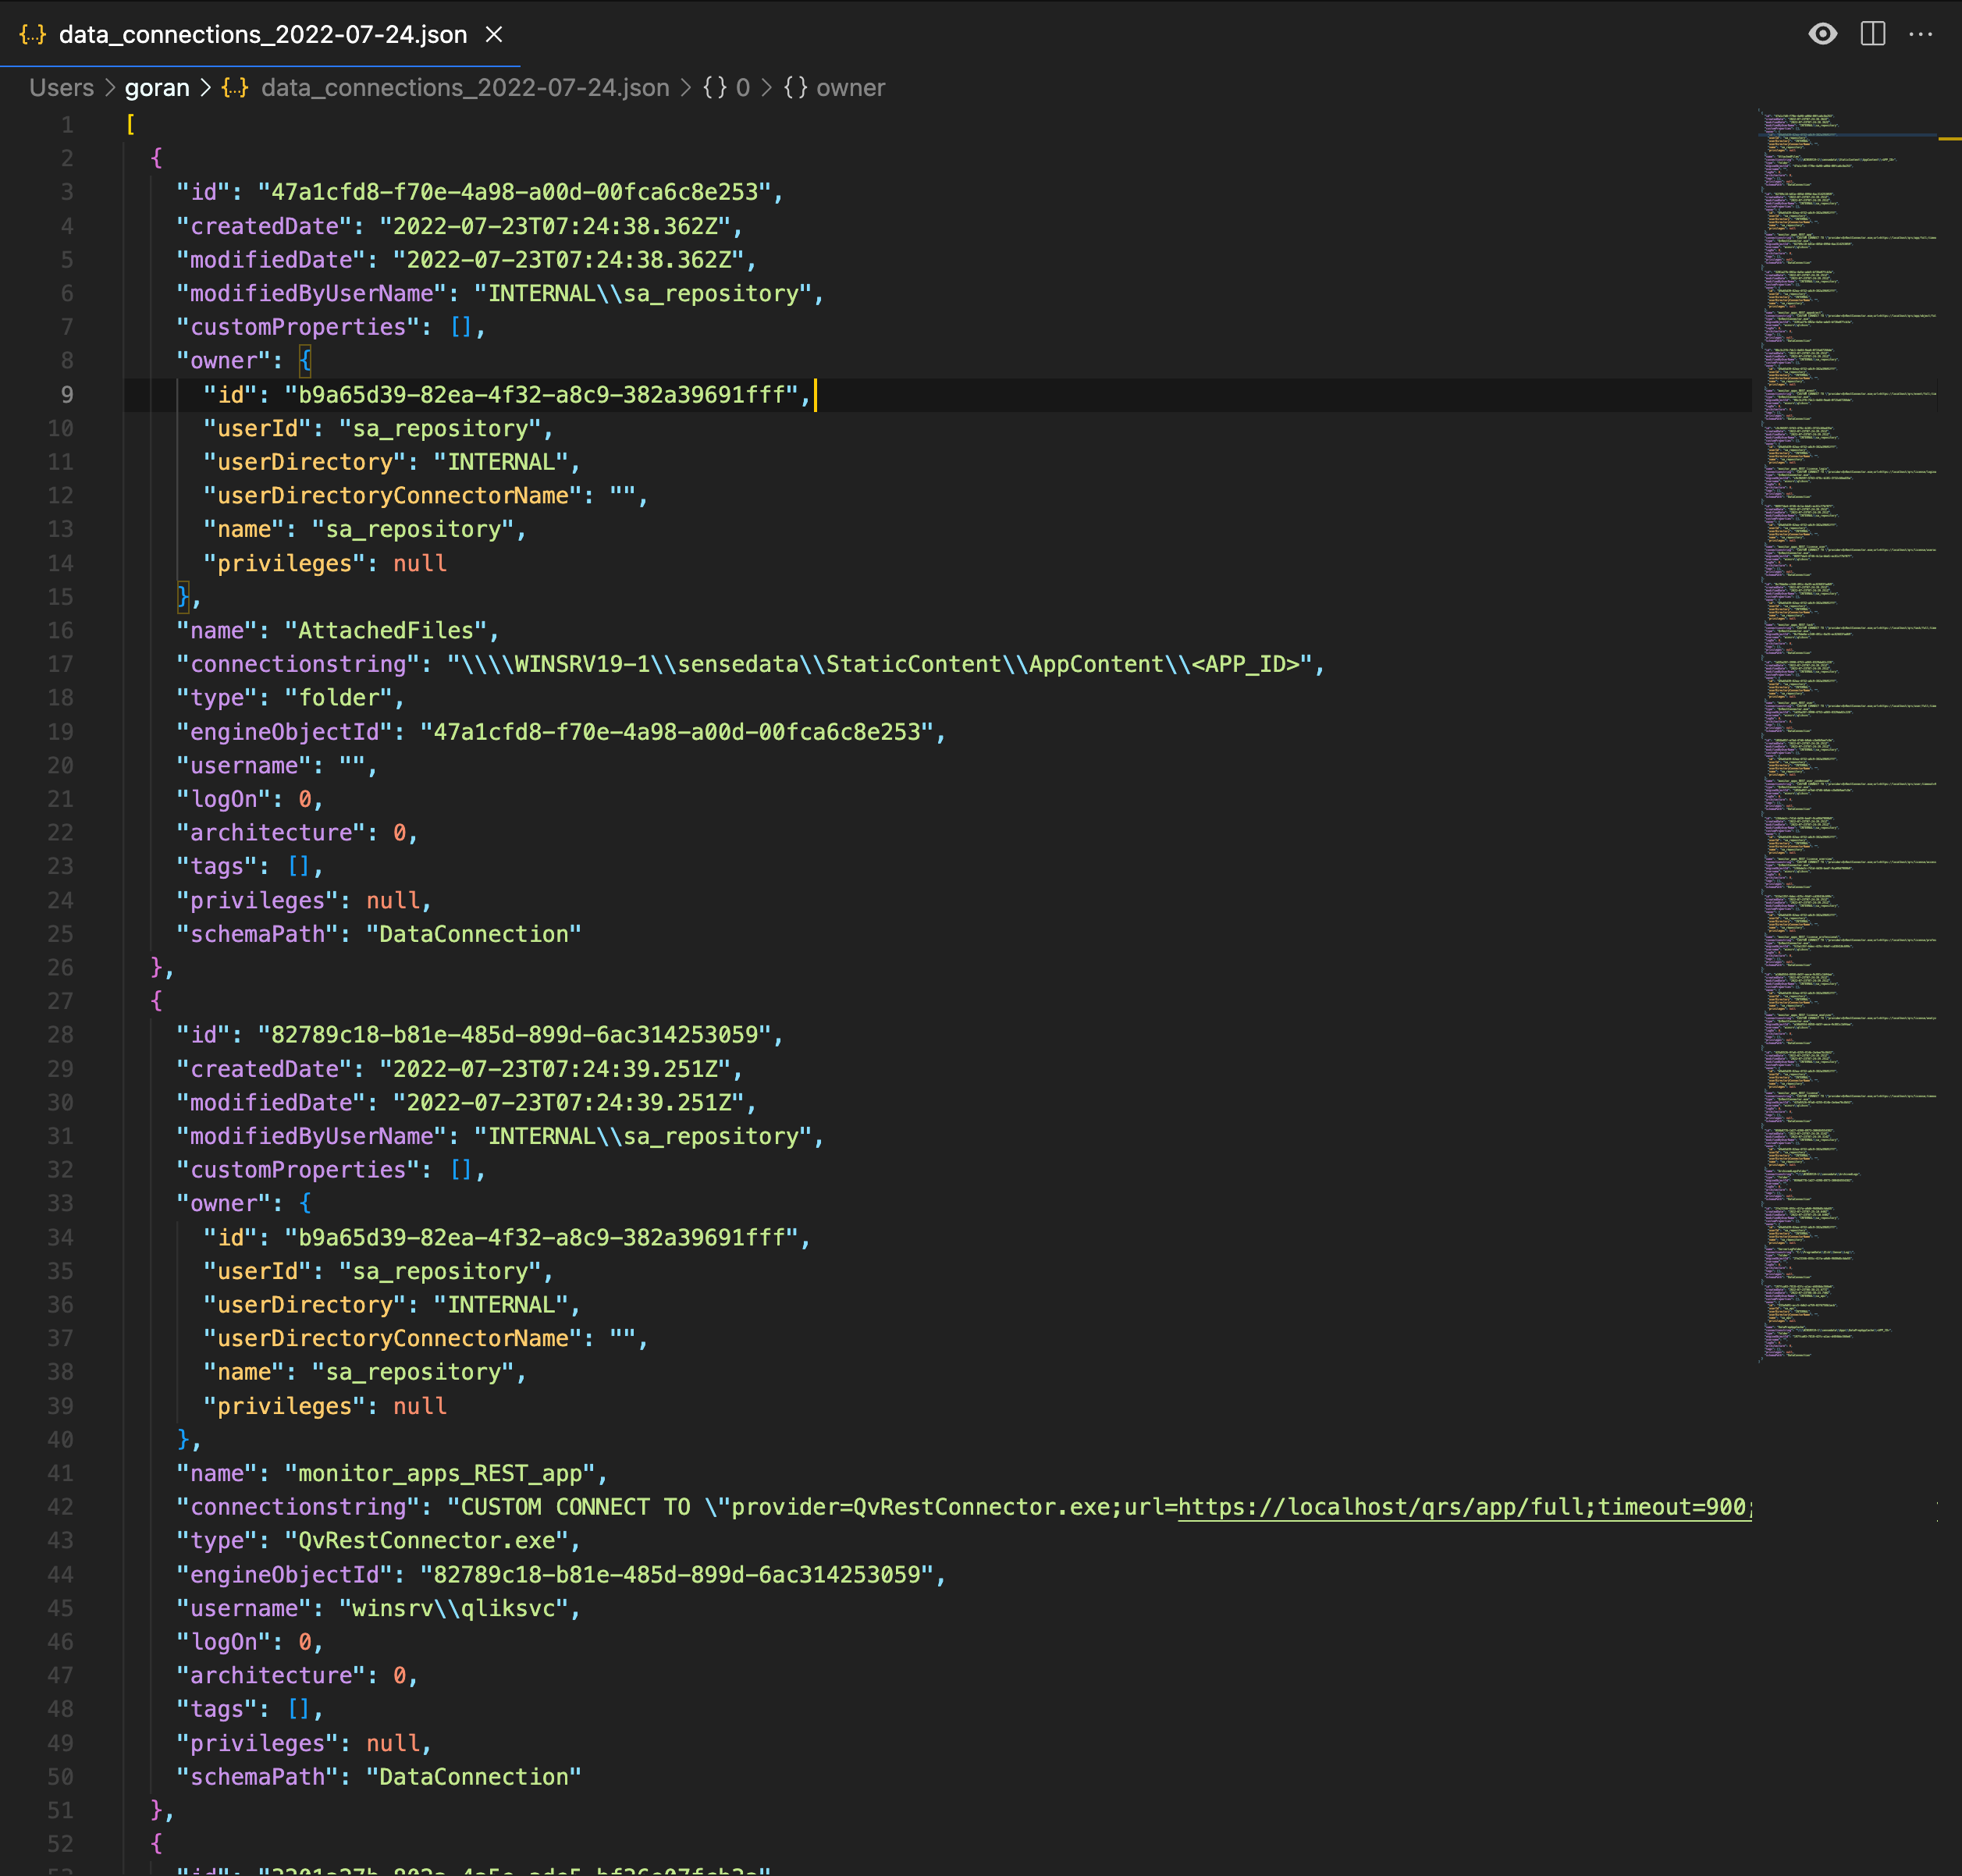
The backup JSON files will be date stamped and stored in c:\backup\data_connections on the winsrv19-1 server:
Export security rules
The script below will export all security rules in a client-managed Qlik Sense Enterprise environment.
In the QMC security rules are categorised as “readonly” (cannot be edited), “default” (created when Sense was installed and haven’t been changed since) and “custom” (either default rules that have been modified or rules created after Sense was installed).
Security rules are saved to three sets of files to make it easier to see which rules are readonly/default/custom. Those files also include the date of creation in their file names, to make it easy to find previous versions of rules.
Prerequisites
This script uses native PowerShell functions (rather than Qlik CLI) and thus has slightly different dependencies than the data connection export script above:
- Being able to log in to a server in the Sense cluster using the Qlik Sense service account (i.e. the Windows account used to run the Sense services). The important part is that the Sense “QlikClient” certificate must be present in the used user’s Windows keychain. If these certificates have been copied to some other user’s keychain, that user can be used too.
PowerShell script
Log in to one of the Windows servers in the Sense cluster using the Sense service account. Adapt the script below to your setup and run it from a PowerShell box.
The script will delete all previously created files older than 30 days. If such retention policy is not needed/suitable the last few lines in the script can be commented out/changed.
# backup_security_rule.ps1
#
# PowerShell script used to export all Qlik Sense security rules
# to JSON and structured text files.
#
# Different files are created for ReadOnly, Default and Custom
# security rules.
# The created files are date-stamped in the file name.
#
# Adapt the following fields before running on the Qlik Sense
# server itself while logged in as the QS service account user:
# - UNC path to file share where files should be stored, in
#   the $folderBase variable. This can be on the Sense server itself
#   or on a remote file server.
# - Directory where the created files should be stored, in the
#   $folder variable. Note that this variable contains a reference to
#   the $folderBase variable!
# - Host name of Sense server, in the $host variable. Easiest way to
#   get this is from the QMC: Nodes > Host name
#
# Running the script somewhere else (on Linux, macOS or a Windows server
# where the QlikClient certificate is not present) or as some other
# user will not work as the script looks for the QlikClient certificate
# in the current user's Windows repository.
#
# If the created files should be stored on a remote file share
# that require authentication, a username and password can be
# set in the $destFolderUser and $destFolderPwd variables.
# The "net use..." command should also be enabled in this case.
#
# The script can be scheduled using the standard Windows scheduler
# if so desired.


# ---------------------------
# Config options
$folderBase = "\\winsrv19-1\c$"
$folder = "$folderBase\backup\security_rules"

# Note: the $hostName variable should contain the same host name that the
# is used in Sense's self-signed certificate.
# Easiest way to find this is in the QMC: Nodes > Host name.
$hostName = "winsrv19-1.shared"

# Enable and configure the following lines if folderBase resides
# on a Samba file share that requires authentication
#$destFolderUser = "domain\user"
#$destFolderPwd = "pwd"
# End config
# ---------------------------

# Authenticate to destination folder
#net use $folderBase /user:$destFolderUser $destFolderPwd

# Create path if it does not exist
If(!(test-path "$folder")) {
    New-Item -ItemType Directory -Force -Path "$folder"
}


$hdrs = @{}
$hdrs.Add("X-Qlik-xrfkey","12345678qwertyui")
$hdrs.Add("X-Qlik-User","UserDirectory=Internal;UserId=sa_api")
$hdrs.Add("User-Agent","Windows")
$cert = Get-ChildItem -Path "Cert:\CurrentUser\My" | Where-Object {$_.Subject -like '*QlikClient*'}

# ReadOnly security rules
$url = "https://$($hostName):4242/qrs/systemrule/full?xrfkey=12345678qwertyui&filter=type%20eq%20%27ReadOnly%27"
Invoke-RestMethod -Uri $url -Method Get -Headers $hdrs -Certificate $cert | Out-File $folder\security_rules_$((Get-Date).ToString('yyyy-MM-dd'))_readonly.txt
Invoke-RestMethod -Uri $url -Method Get -Headers $hdrs -Certificate $cert | ConvertTo-Json | Out-File $folder\security_rules_$((Get-Date).ToString('yyyy-MM-dd'))_readonly.json

# Default security rules
$url = "https://$($hostName):4242/qrs/systemrule/full?xrfkey=12345678qwertyui&filter=type%20eq%20%27Default%27"
Invoke-RestMethod -Uri $url -Method Get -Headers $hdrs -Certificate $cert | Out-File $folder\security_rules_$((Get-Date).ToString('yyyy-MM-dd'))_default.txt
Invoke-RestMethod -Uri $url -Method Get -Headers $hdrs -Certificate $cert | ConvertTo-Json | Out-File $folder\security_rules_$((Get-Date).ToString('yyyy-MM-dd'))_default.json

# Custom security rules
$url = "https://$($hostName):4242/qrs/systemrule/full?xrfkey=12345678qwertyui&filter=type%20eq%20%27Custom%27"
Invoke-RestMethod -Uri $url -Method Get -Headers $hdrs -Certificate $cert | Out-File $folder\security_rules_$((Get-Date).ToString('yyyy-MM-dd'))_custom.txt
Invoke-RestMethod -Uri $url -Method Get -Headers $hdrs -Certificate $cert | ConvertTo-Json | Out-File $folder\security_rules_$((Get-Date).ToString('yyyy-MM-dd'))_custom.json

# If you are using PowerShell >= 6.0 .0 you can add a parameter
# -SkipCertificateCheck to disregard any certificate errors
# when connecting to the Sense server. You can then use any host name or
# IP that resolves to the Sense server, i.e. no need for the
# host name in the $url variable to match the host name in the
# QlikClient certificate.


# Write-Host "Removing files older than 30 Days"
Get-ChildItem $folder -Recurse -Force -ea 0 |
Where-Object {!$_.PsIsContainer -and $_.LastWriteTime -lt (Get-Date).AddDays(-30)} |
ForEach-Object {
   $_ | Remove-Item -Force
   $_.FullName | Out-File $folder\deletedlog.txt -Append
}
Output
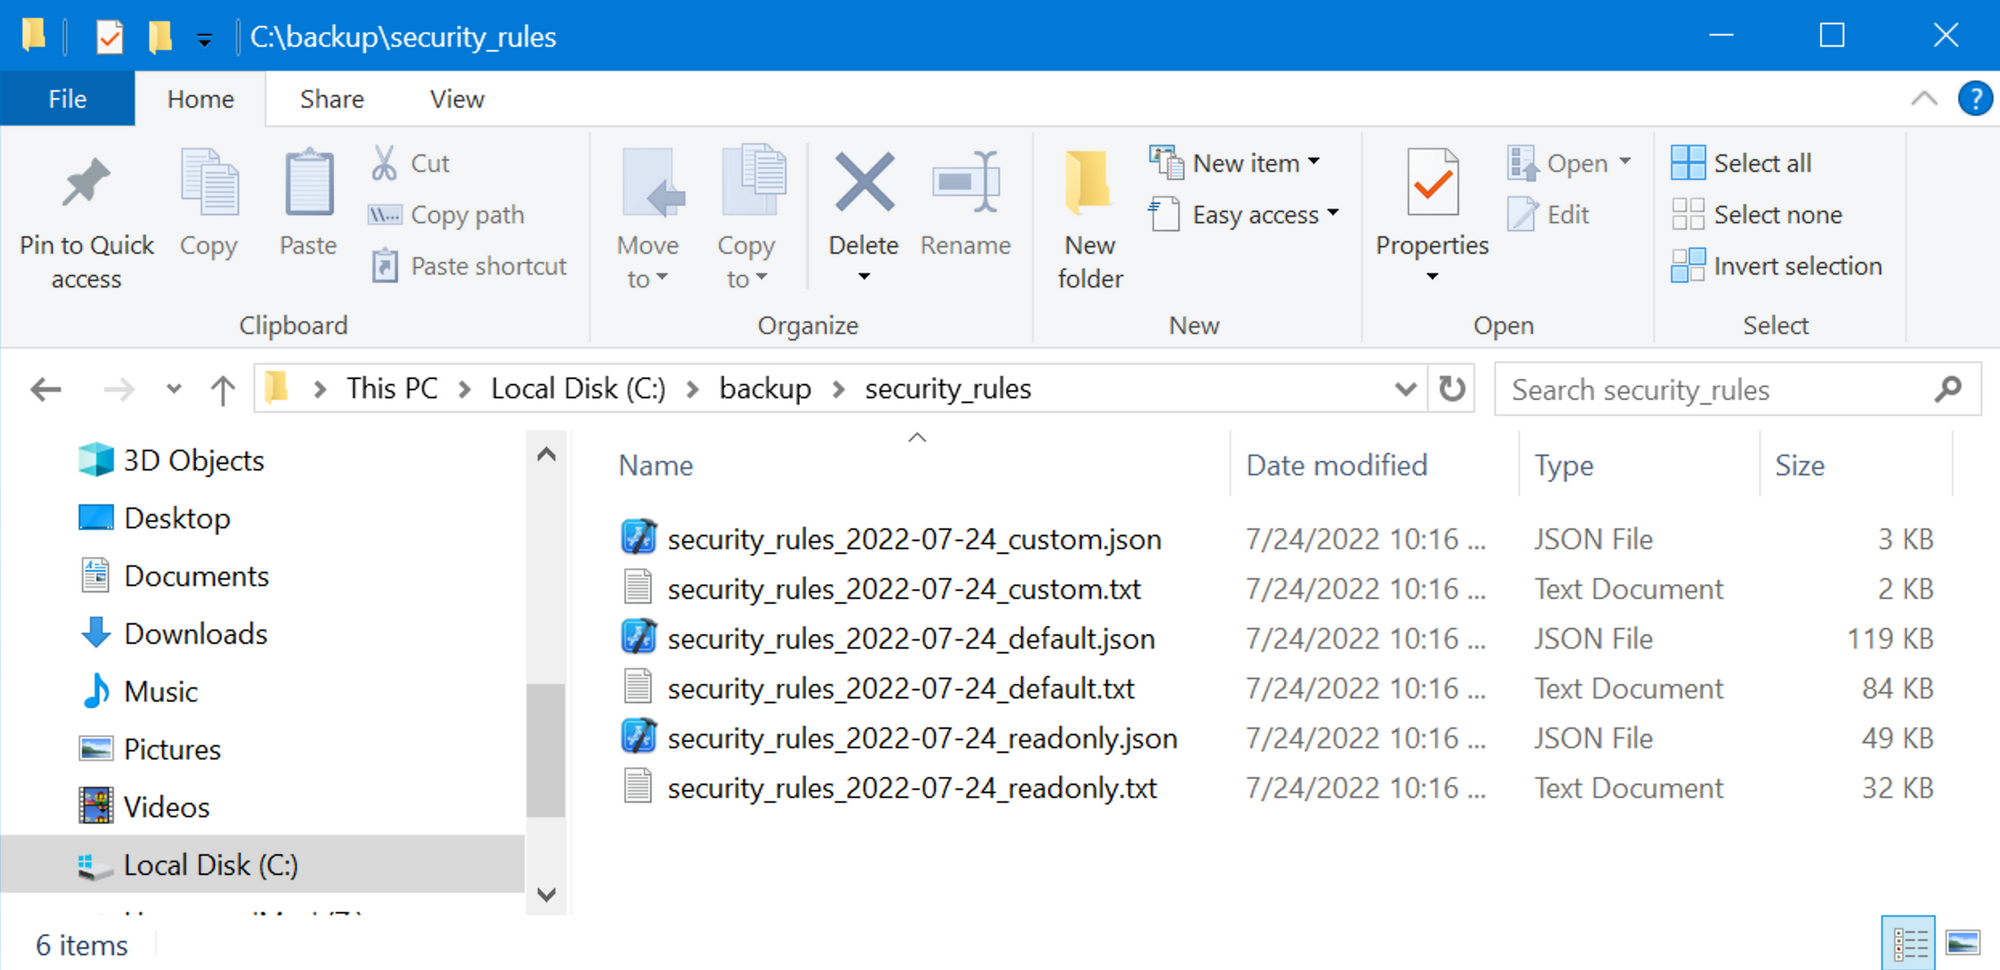
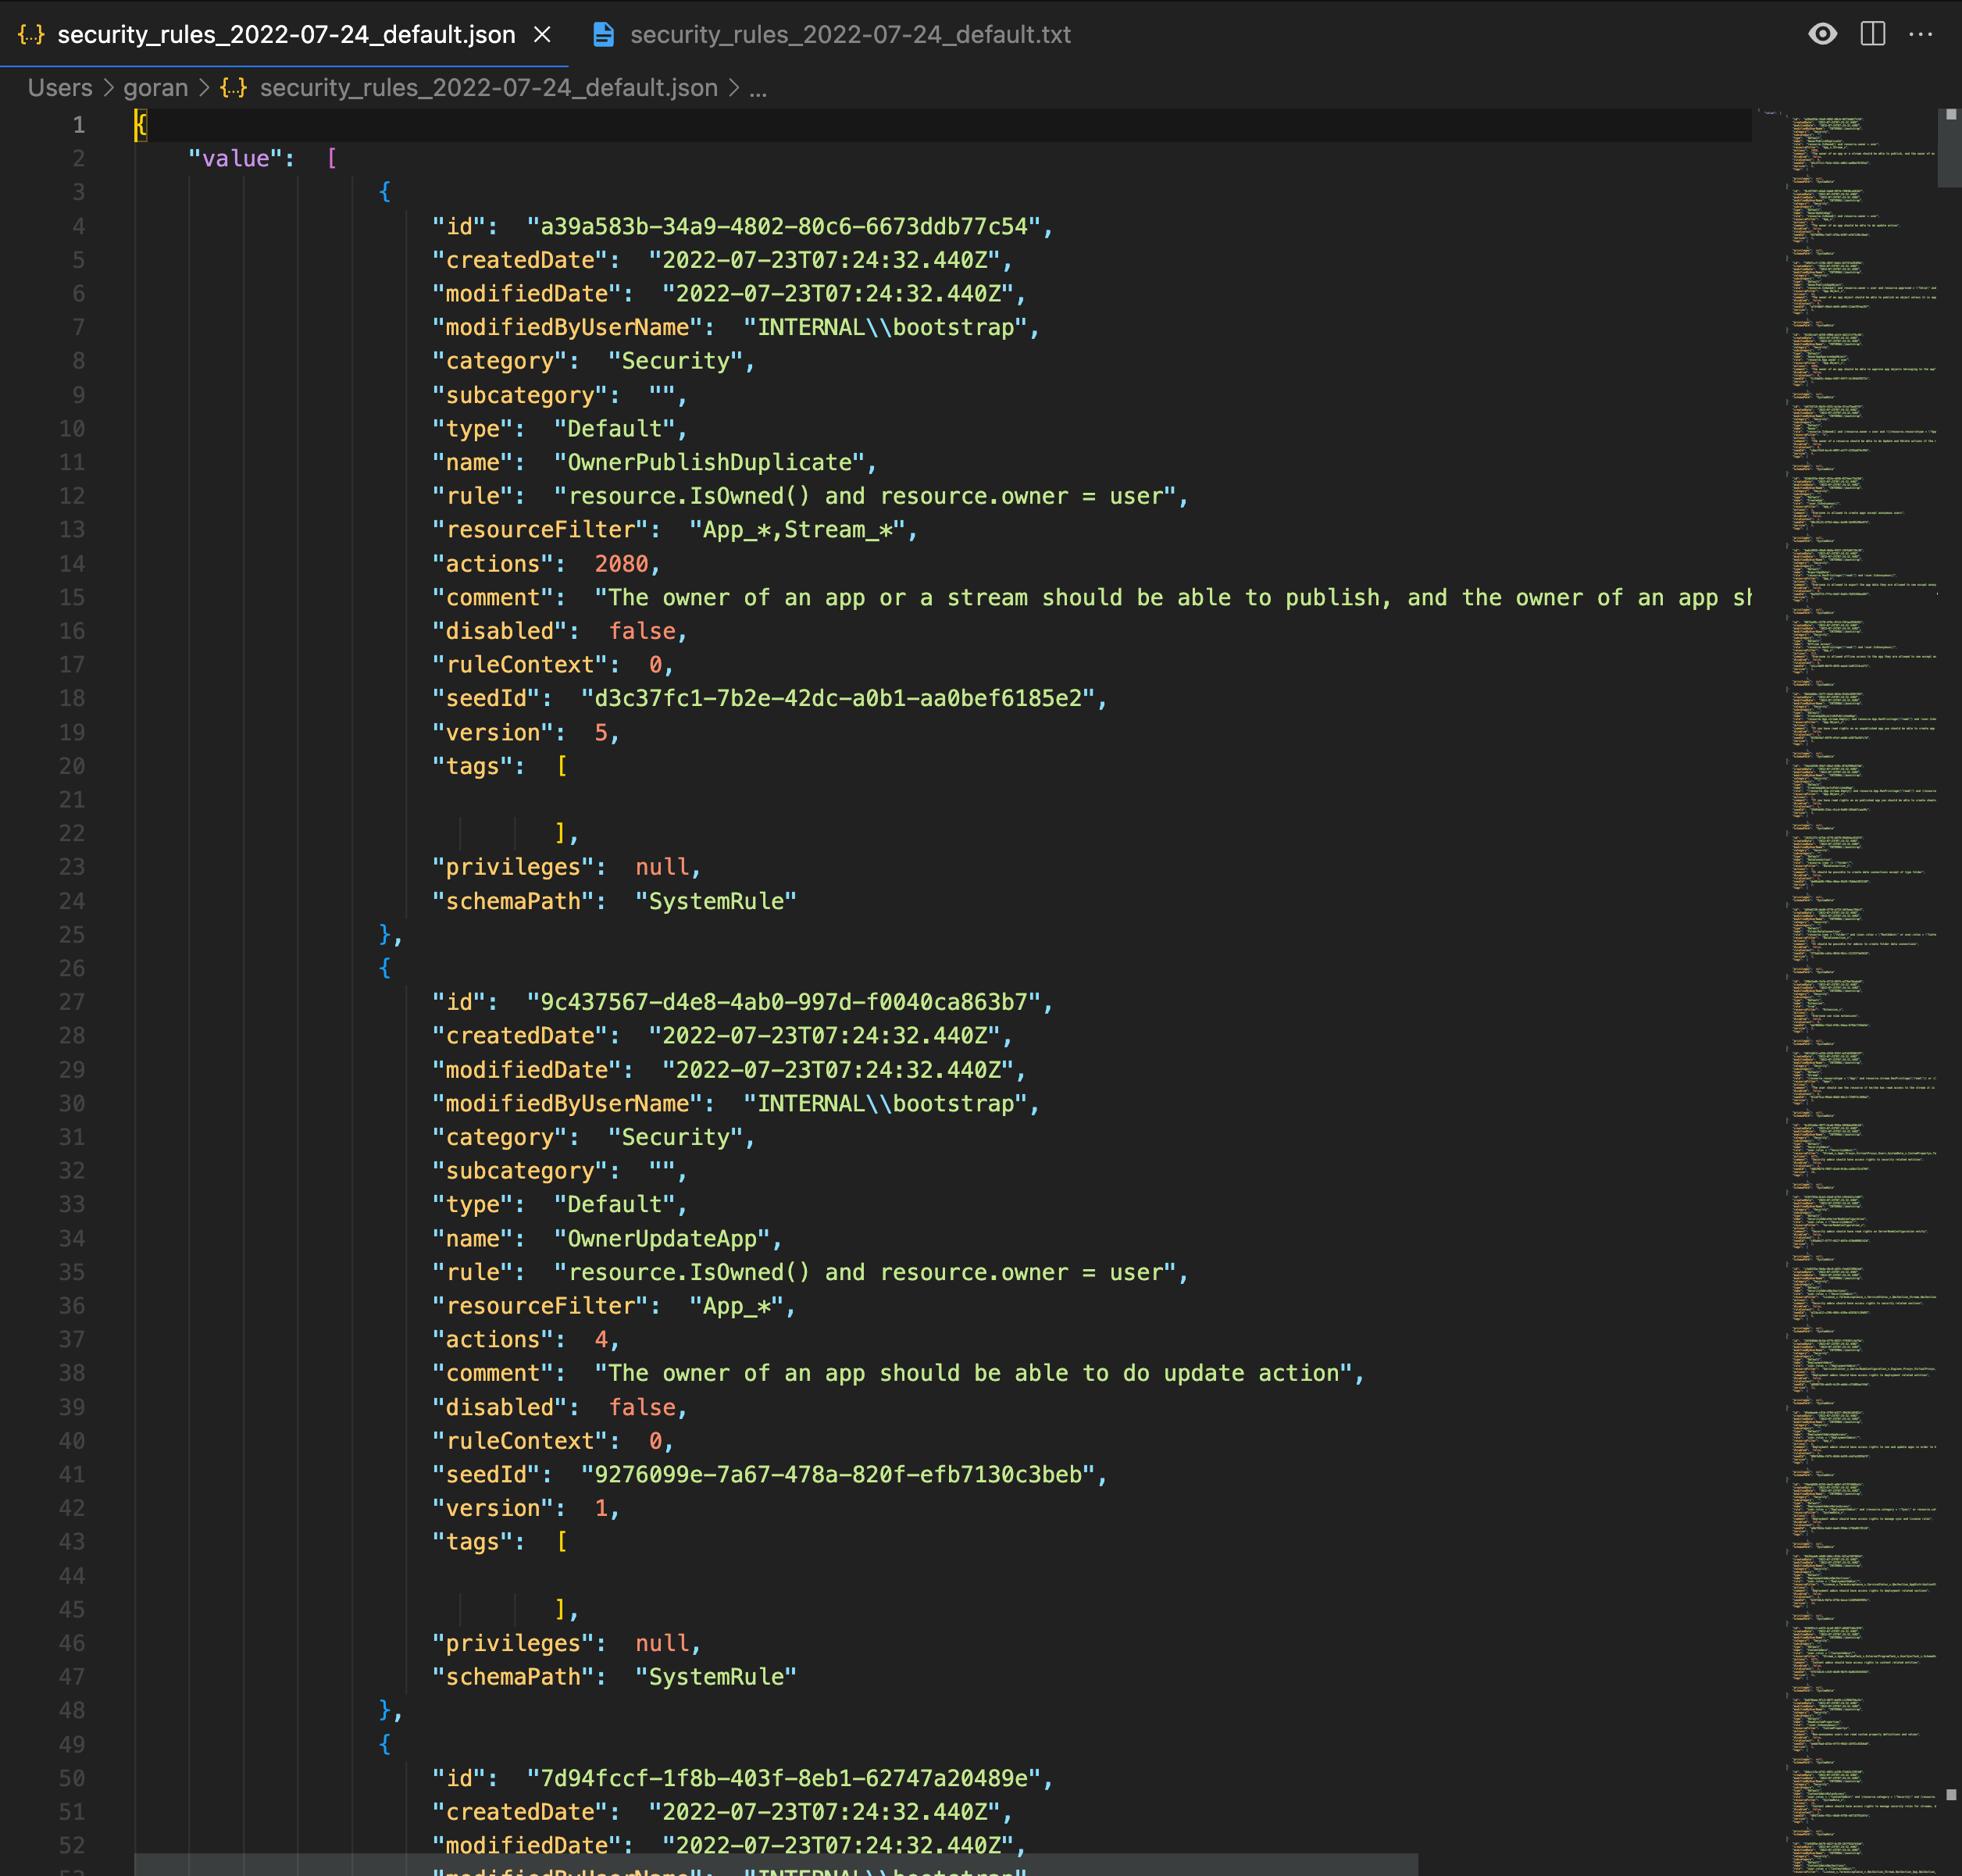
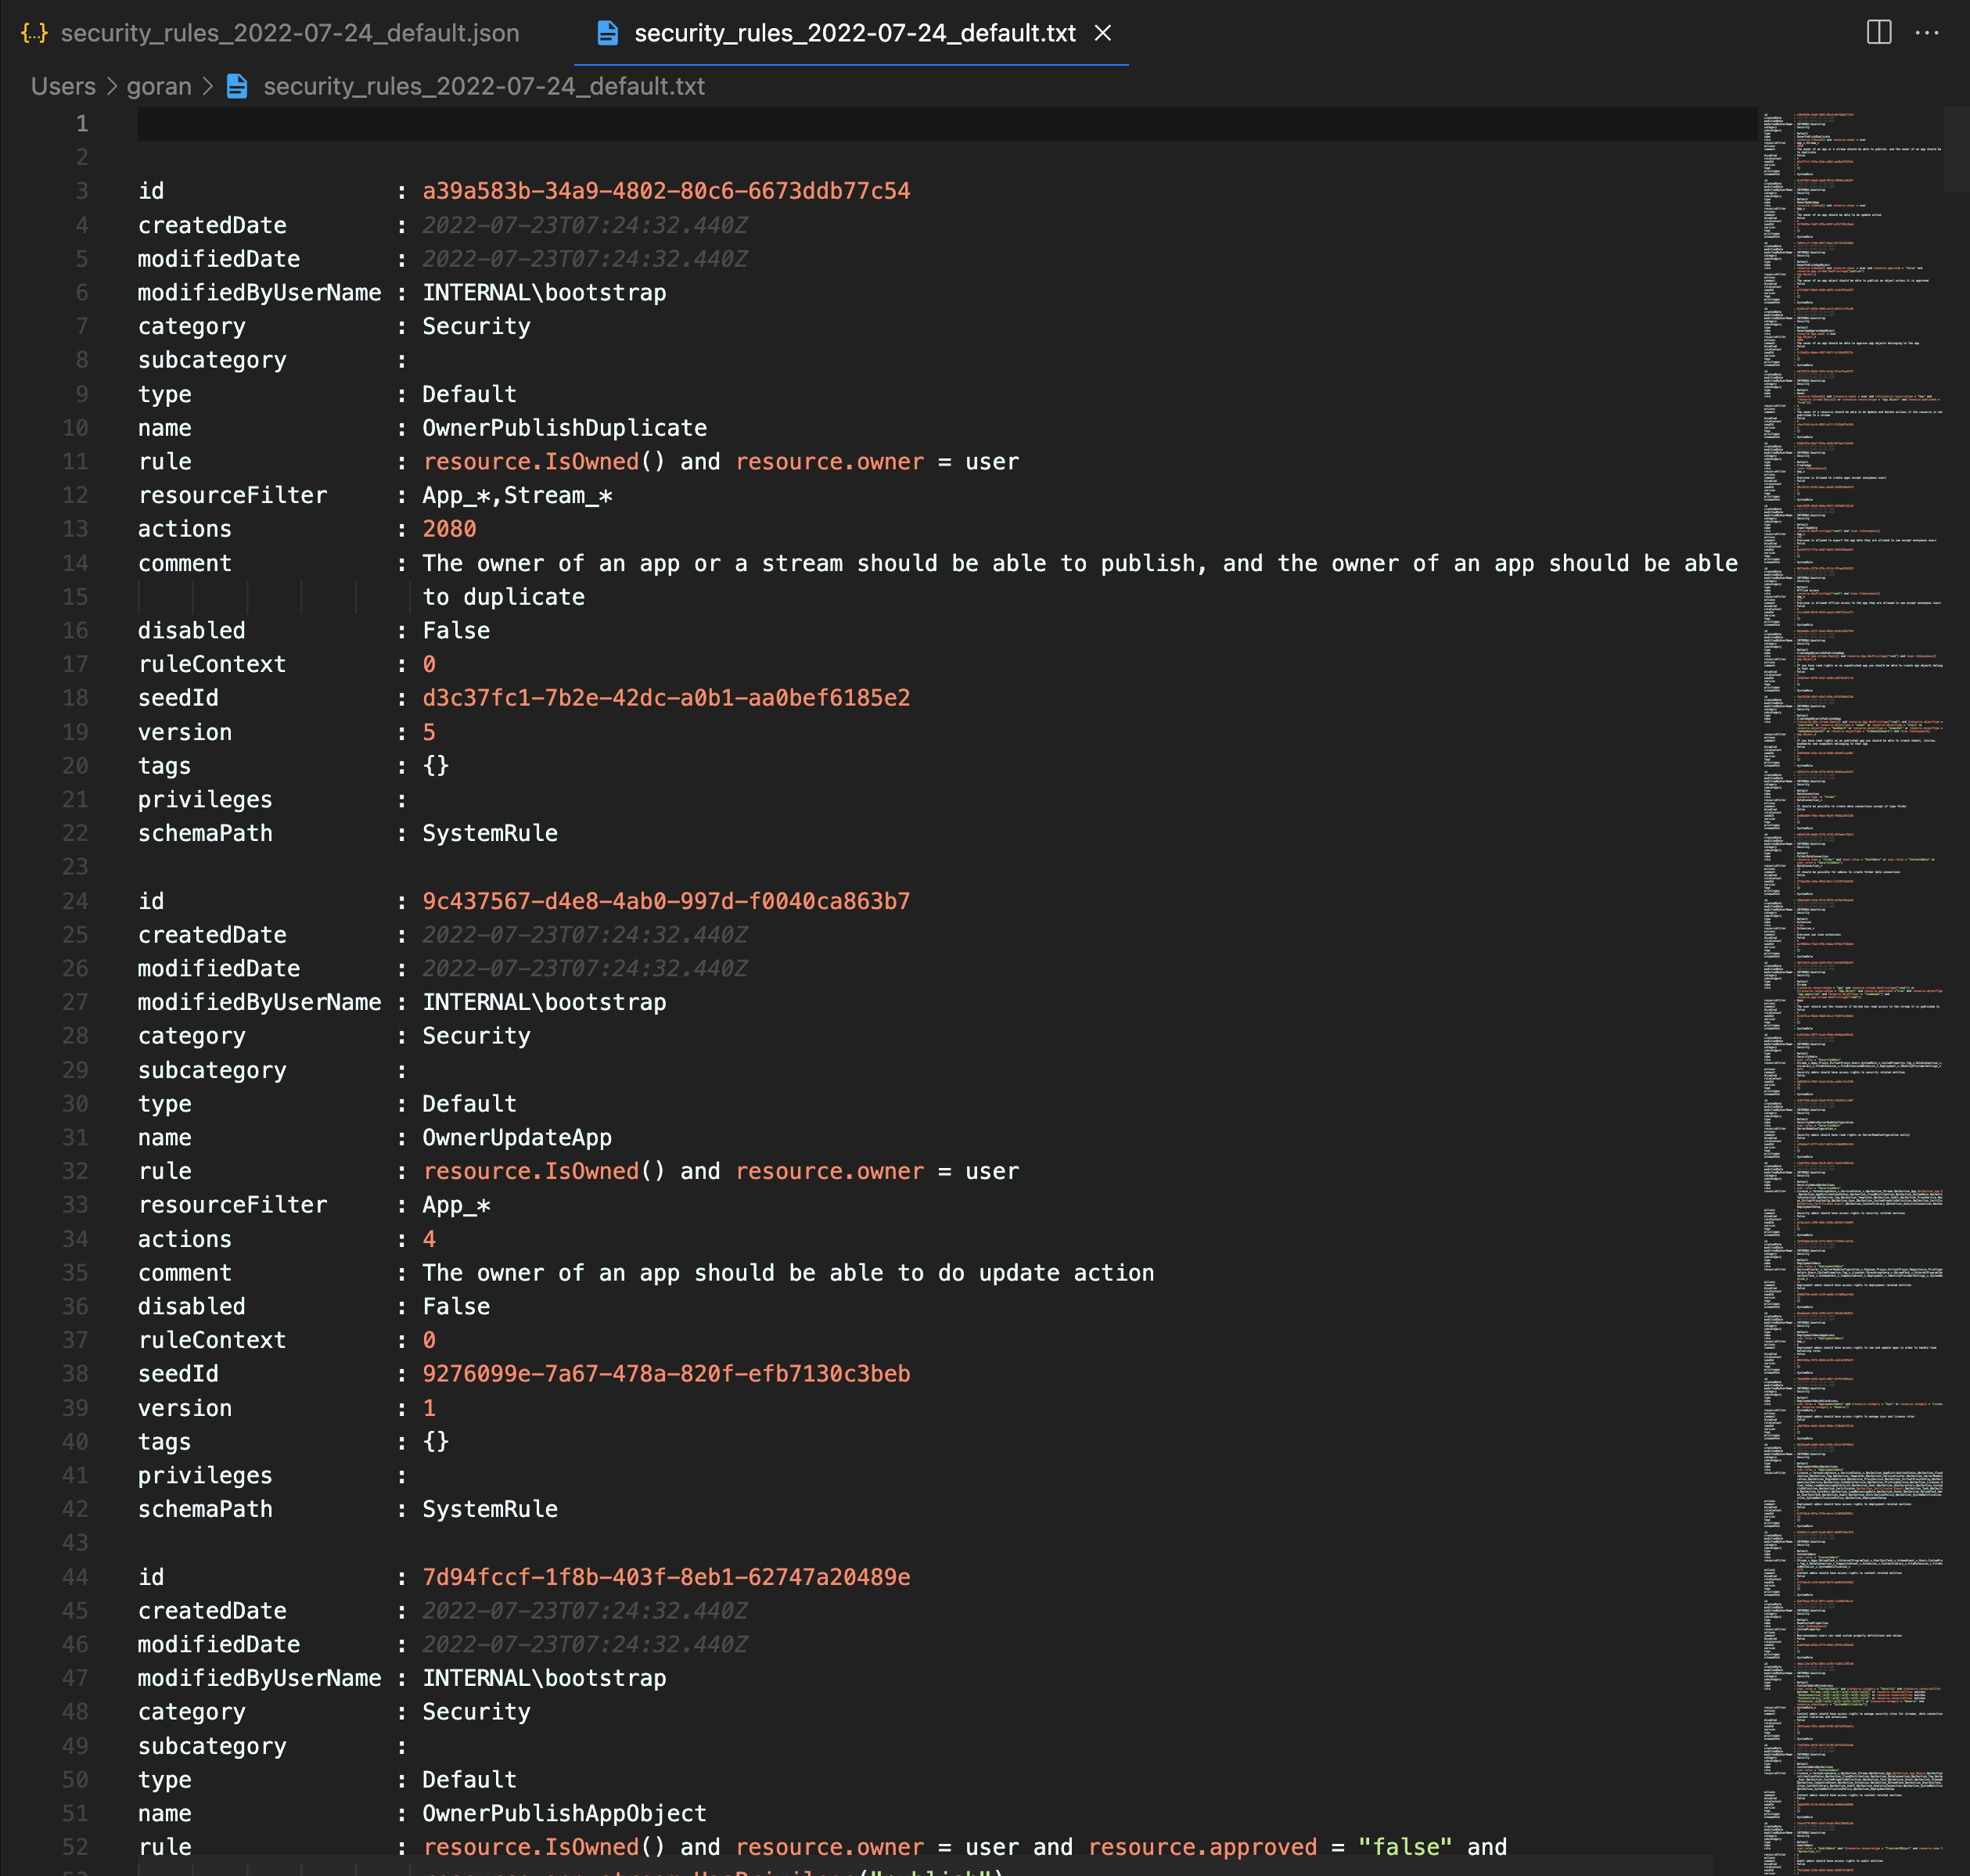
The script will create six files. Three with JSON content and three with structured text.
Export tags and custom properties
The script below will export all tags and custom properties in a client-managed Qlik Sense Enterprise environment.
Tags and custom properties will be saved to different files. Each file exists in two versions – JSON and structured text.
Prerequisites
Same prerequisites as for exporting security rules, namely
- Being able to log in to a server in the Sense cluster using the Qlik Sense service account (i.e. the Windows account used to run the Sense services). The important part is that the Sense “QlikClient” certificate must be present in the used user’s Windows keychain. If these certificates have been copied to some other user’s keychain, that user can be used too.
PowerShell script
Log in to one of the Windows servers in the Sense cluster using the Sense service account. Adapt the script below to your setup and run it from a PowerShell box.
The script will delete all previously created files older than 30 days. If such retention policy is not needed/suitable the last few lines in the script can be commented out/changed.
# backup_tag_customproperty.ps1
#
# PowerShell script used to export all Qlik Sense tags and
# custom properties to JSON and structured text files.
#
# The created files are date-stamped in the file name.
#
# Adapt the following fields before running on the Qlik Sense
# server itself while logged in as the QS service account user:
# - UNC path to file share where files should be stored, in
#   the $folderBase variable. This can be on the Sense server itself
#   or on a remote file server.
# - Directory where the created tag files should be stored, in the
#   $folderTags variable. Note that this variable contains a reference to
#   the $folderBase variable!
# - Directory where the created custom property files should be stored,
#   in the $folderCustomProperties variable. Note that this variable
#   contains a reference to the $folderBase variable!
# - Host name of Sense server, in the $host variable. Easiest way to
#   get this is from the QMC: Nodes > Host name
#
# Running the script somewhere else (on Linux, macOS or a Windows server
# where the QlikClient certificate is not present) or as some other
# user will not work as the script looks for the QlikClient certificate
# in the current user's Windows repository.
#
# If the created files should be stored on a remote file share
# that require authentication, a username and password can be
# set in the $destFolderUser and $destFolderPwd variables.
# The "net use..." command should also be enabled in this case.
#
# The script can be scheduled using the standard Windows scheduler
# if so desired.

# ---------------------------
# Config options
$folderBase = "\\winsrv19-1\c$"
$folderTags = "$folderBase\backup\tags"
$folderCustomProperties = "$folderBase\backup\custom_properties"

# Note: the $hostName variable should contain the same host name that the
# is used in Sense's self-signed certificate.
# Easiest way to find this is in the QMC: Nodes > Host name.
$hostName = "winsrv19-1.shared"

# Enable and configure the following lines if folderBase resides
# on a Samba file share that requires authentication
#$destFolderUser = "domain\user"
#$destFolderPwd = "pwd"
# End config
# ---------------------------


# Authenticate to destination folder
#net use $folderBase /user:$destFolderUser $destFolderPwd

# Create paths if they do not exist
If(!(test-path "$folderTags")) {
    New-Item -ItemType Directory -Force -Path "$folderTags"
}
If(!(test-path "$folderCustomProperties")) {
    New-Item -ItemType Directory -Force -Path "$folderCustomProperties"
}


$hdrs = @{}
$hdrs.Add("X-Qlik-xrfkey","12345678qwertyui")
$hdrs.Add("X-Qlik-User","UserDirectory=Internal;UserId=sa_api")
$hdrs.Add("User-Agent","Windows")
$cert = Get-ChildItem -Path "Cert:\CurrentUser\My" | Where-Object {$_.Subject -like '*QlikClient*'}

# Tags
$url = "https://$($hostName):4242/qrs/tag/full?xrfkey=12345678qwertyui"
Invoke-RestMethod -Uri $url -Method Get -Headers $hdrs -Certificate $cert | Out-File $folderTags\tags_$((Get-Date).ToString('yyyy-MM-dd')).txt
Invoke-RestMethod -Uri $url -Method Get -Headers $hdrs -Certificate $cert | ConvertTo-Json | Out-File $folderTags\tags_$((Get-Date).ToString('yyyy-MM-dd')).json

# Custom properties
$url = "https://$($hostName):4242/qrs/custompropertydefinition/full?xrfkey=12345678qwertyui"
Invoke-RestMethod -Uri $url -Method Get -Headers $hdrs -Certificate $cert | Out-File $folderCustomProperties\custom_properties_$((Get-Date).ToString('yyyy-MM-dd')).txt
Invoke-RestMethod -Uri $url -Method Get -Headers $hdrs -Certificate $cert | ConvertTo-Json | Out-File $folderCustomProperties\custom_properties_$((Get-Date).ToString('yyyy-MM-dd')).json


# If you are using PowerShell >= 6.0 .0 you can add a parameter
# -SkipCertificateCheck to disregard any certificate errors
# when connecting to the Sense server. You can then use any host name or
# IP that resolves to the Sense server, i.e. no need for the
# host name in the $url variable to match the host name in the
# QlikClient certificate.


# Write-Host "Removing files older than 30 Days"
Get-ChildItem $folderTags -Recurse -Force -ea 0 |
Where-Object {!$_.PsIsContainer -and $_.LastWriteTime -lt (Get-Date).AddDays(-30)} |
ForEach-Object {
   $_ | Remove-Item -Force
   $_.FullName | Out-File $folderTags\deletedlog.txt -Append
}

Get-ChildItem $folderCustomProperties -Recurse -Force -ea 0 |
Where-Object {!$_.PsIsContainer -and $_.LastWriteTime -lt (Get-Date).AddDays(-30)} |
ForEach-Object {
   $_ | Remove-Item -Force
   $_.FullName | Out-File $folderCustomProperties\deletedlog.txt -Append
}
Output
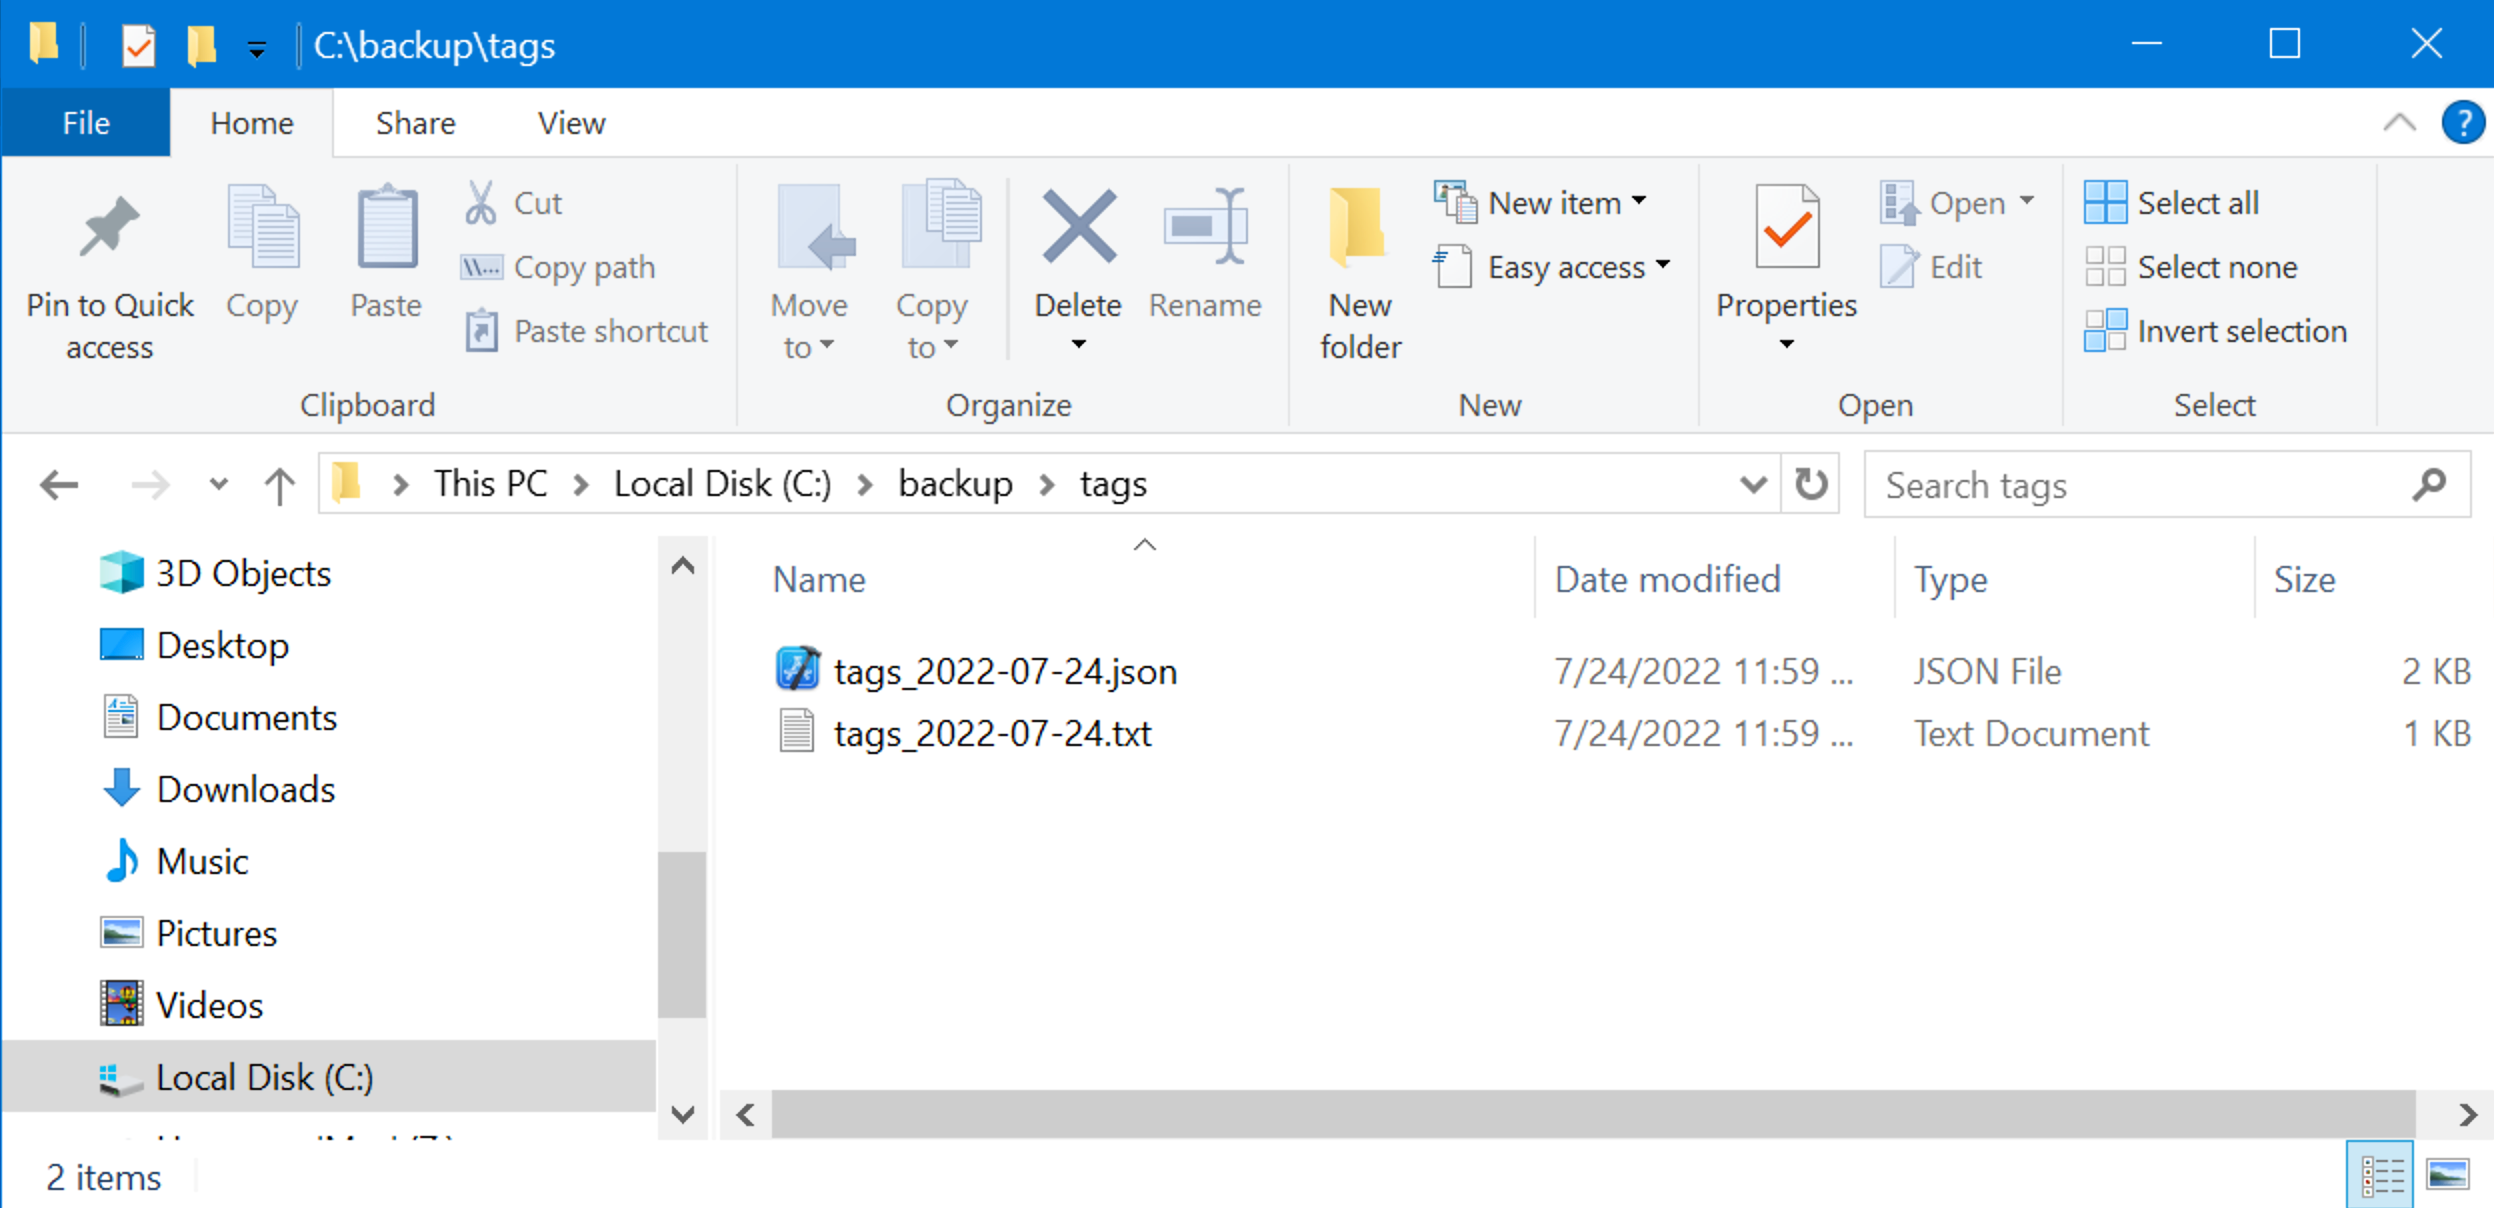
The script will create two files each time it is executed:
